
How I Make Kombucha at Home
A simple, frugal way to turn tea, sugar, and a SCOBY into something delicious
Making kombucha at home is one of those little kitchen rituals that I’ve really come to appreciate. It takes only a few basic ingredients, very little hands-on work, and a bit of patience while nature does the rest.
It also fits perfectly into the way I try to live and cook: making things at home, using simple ingredients, reusing glass jars and bottles, reducing packaging, and learning traditional methods of preserving and fermenting food.
Here is exactly how I make mine.
What I Use
● 6 tea bags
● 6 cups water
● 1 cup sugar
● 1 SCOBY
● A little mature kombucha/starter liquid
● Large clean glass Mason jar
● Cheesecloth or another tightly woven breathable cloth
● Rubber band
● Clean glass bottles for the second fermentation
● Flavoring of choice
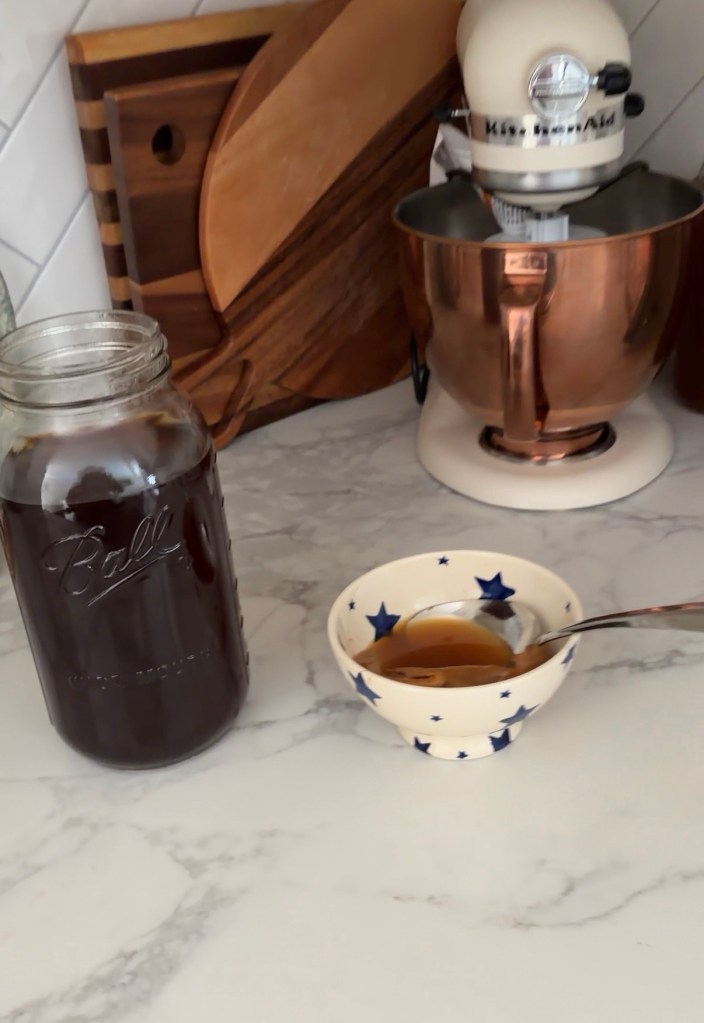
For this batch, I used honey for my second fermentation.
Step 1: Make the Sweet Tea
I start by bringing 6 cups of water to a boil.
I place 6 tea bags and 1 cup of sugar into a large, clean Mason jar that can comfortably hold the entire batch.
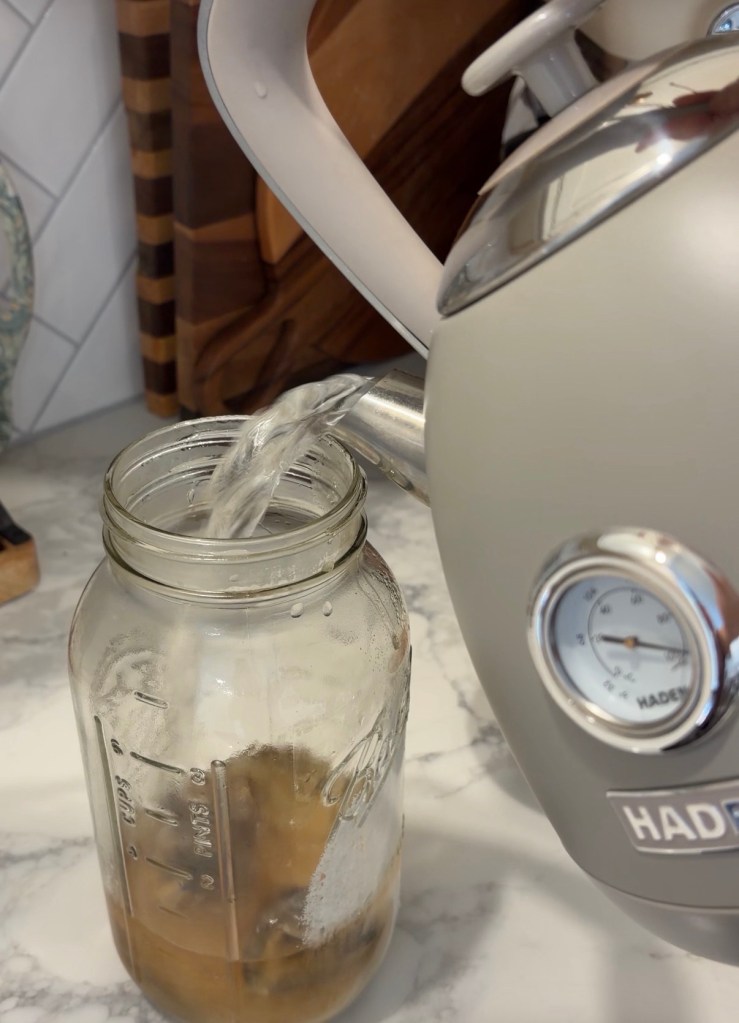
Once the water has boiled, I carefully pour the hot water into the jar.
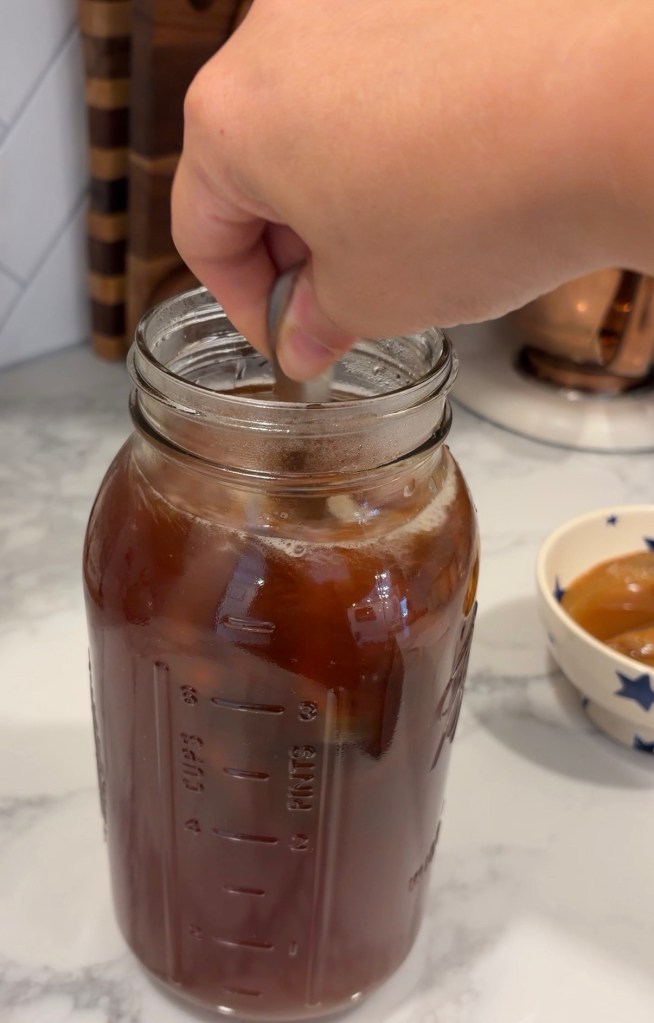
I give everything a good stir to begin dissolving the sugar and then allow the tea to steep for about 15 minutes.
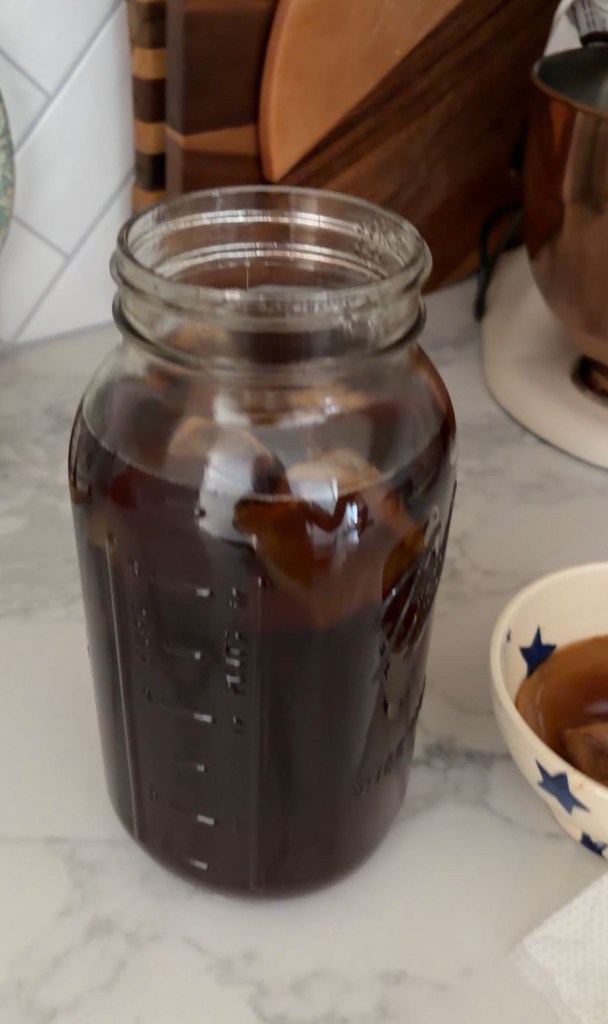
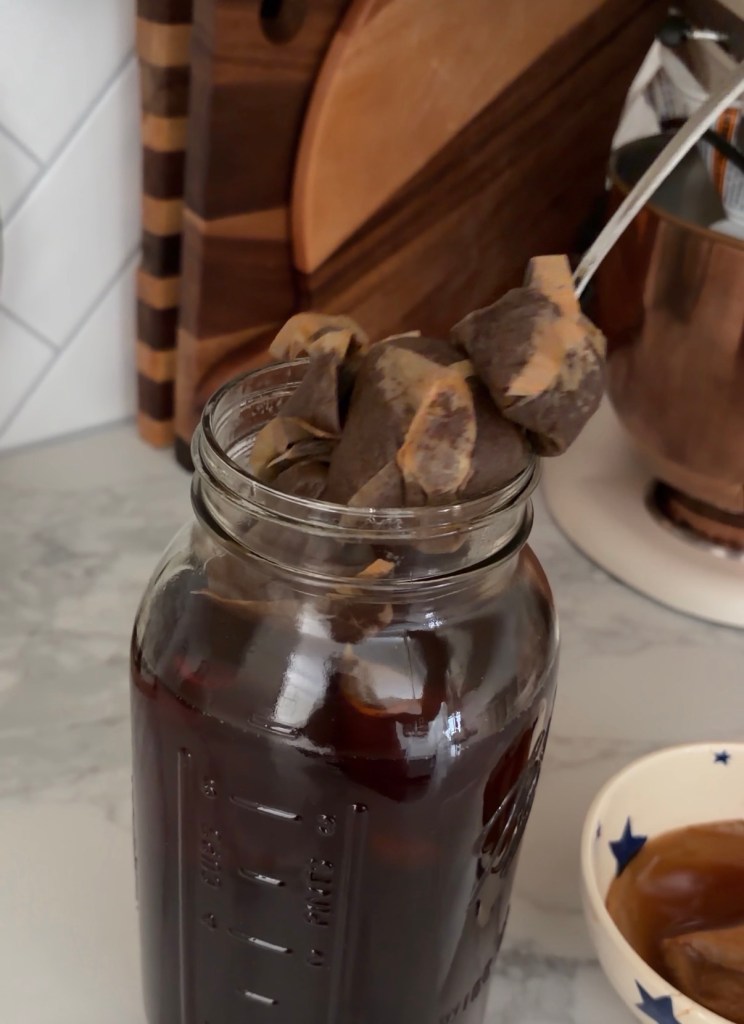
After 15 minutes, I remove the tea bags and stir the tea again, making sure all of the sugar has completely dissolved.
Now comes one of the most important parts: waiting.
The sweet tea needs to cool completely to room temperature before I add my SCOBY.
Never add a SCOBY to very hot tea.
Step 2: Add the SCOBY
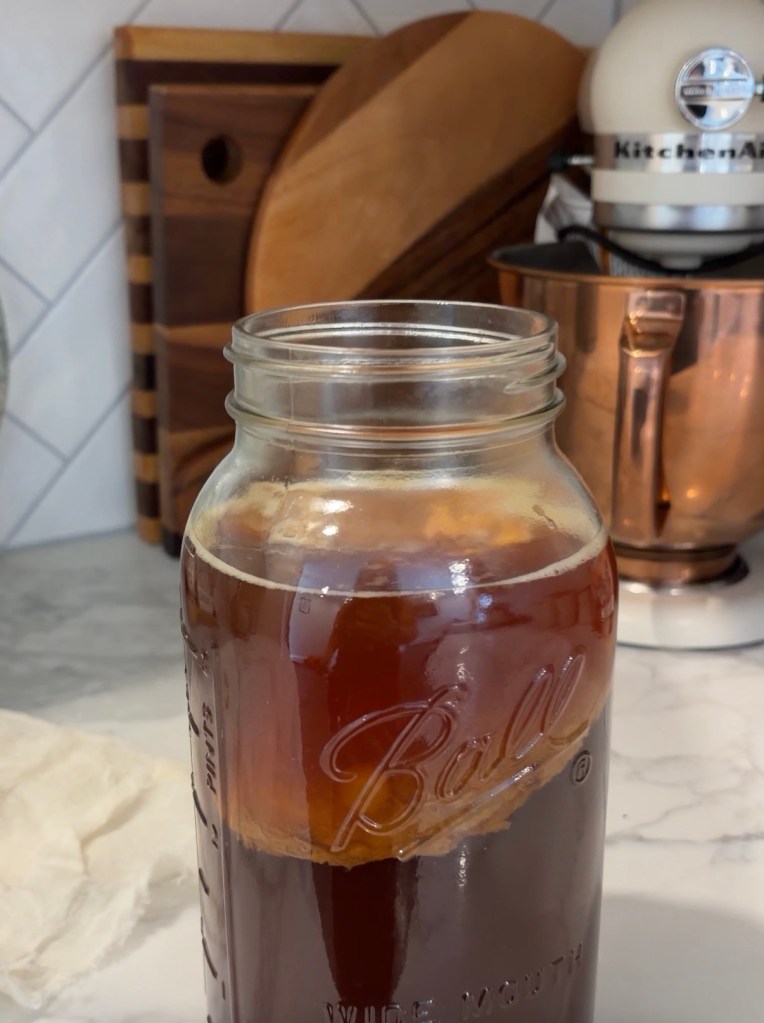
Once my tea has completely cooled to room temperature, I gently add my SCOBY along with some starter kombucha.
Don’t worry about whether your SCOBY floats, sinks, sits sideways, or moves around. It can behave differently from batch to batch.
Don’t Have a SCOBY Yet?
You can start the process without one.
Make your sweet tea exactly as described above and allow it to cool completely. Instead of adding an established SCOBY, add a bottle of plain, raw, unflavored kombucha containing live cultures.
Cover the jar and allow it to ferment undisturbed.
Over approximately 10–14 days or longer, depending on conditions, a new SCOBY/pellicle can begin forming on the surface.
Once you have an established culture and sufficiently acidic starter tea, you can use it to begin future batches.
Step 3: First Fermentation
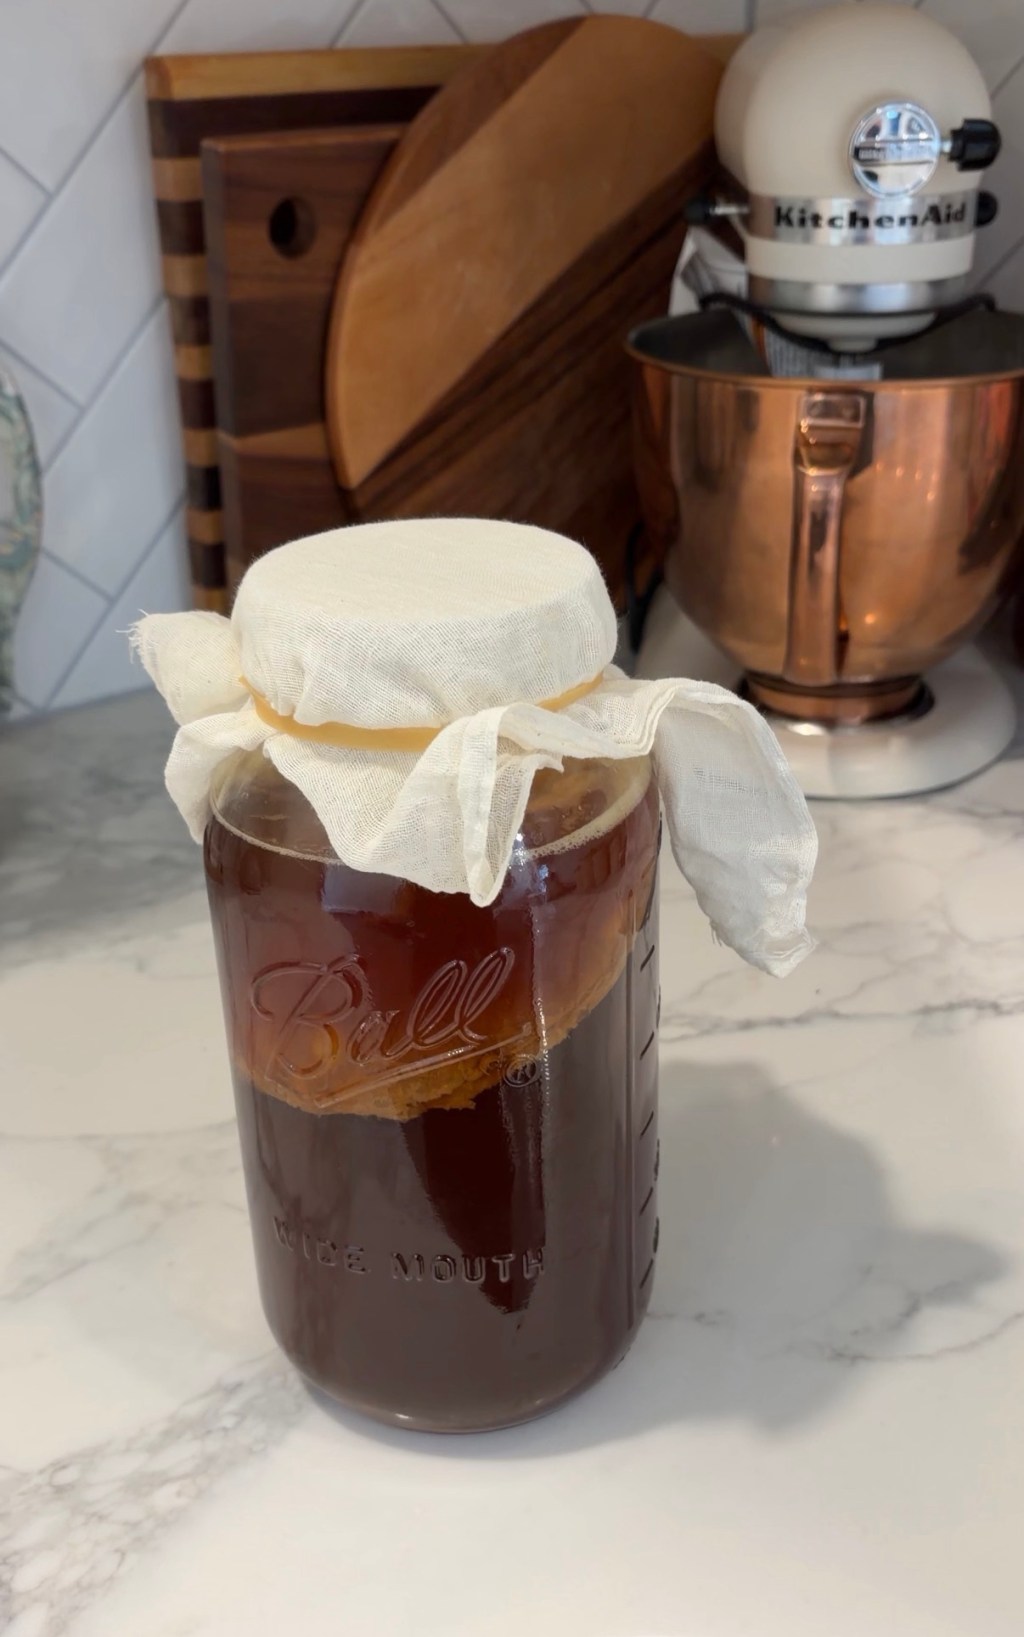
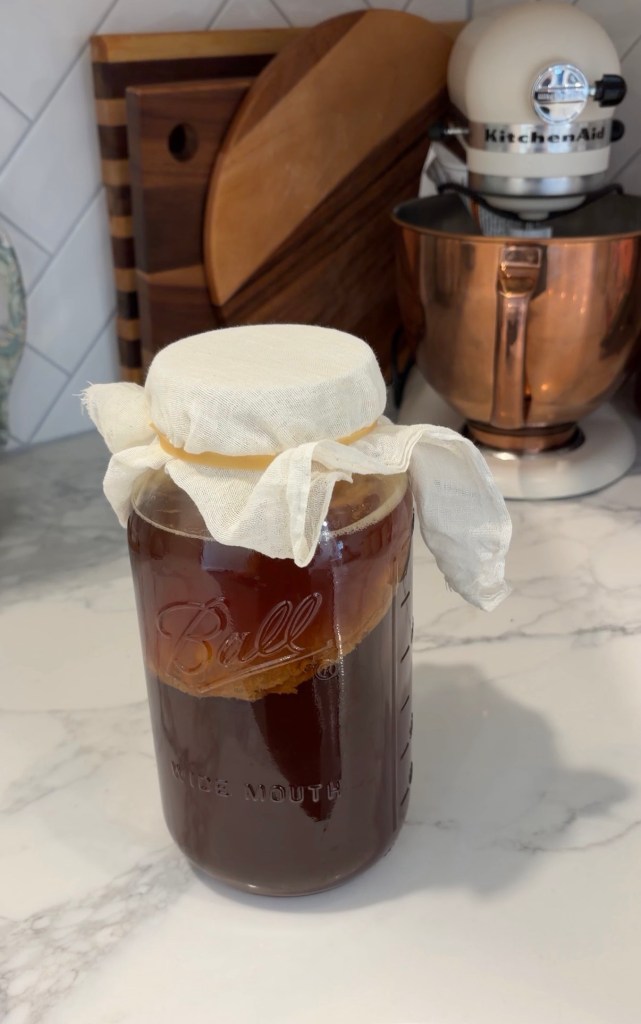
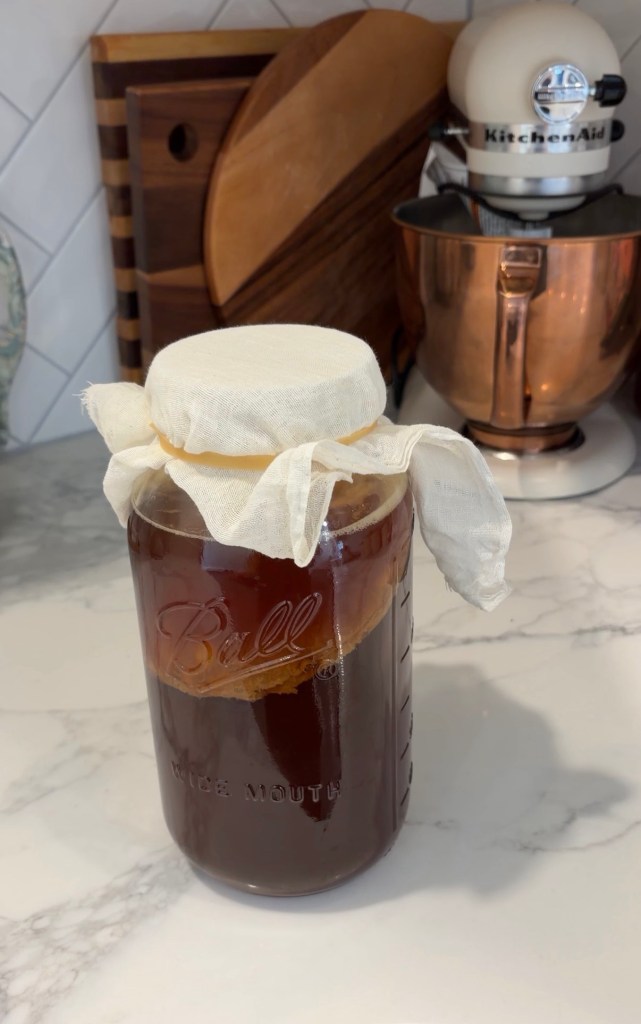
After adding my SCOBY and starter liquid, I cover the top of the jar with clean cheesecloth and secure it.
The covering allows airflow while helping keep dust and insects out of my kombucha.
Then I leave it alone to ferment for approximately 7–10 days.
This is where taste becomes more important than simply watching the calendar.
As the kombucha ferments, the culture consumes some of the sugar and the flavor gradually changes from sweet tea into something increasingly tart and acidic.
I begin tasting mine during this period.
I’m looking for that sweet spot where it is no longer overly sweet but hasn’t become too vinegary.
That’s when I know mine is ready.
Step 4: Remove the SCOBY
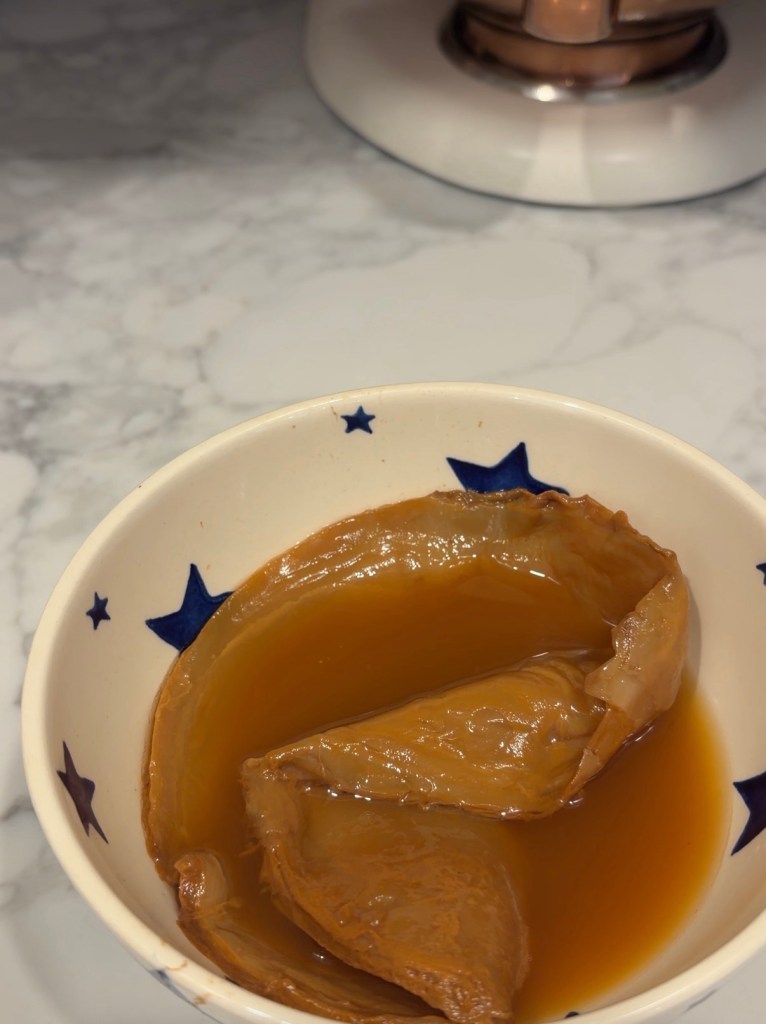
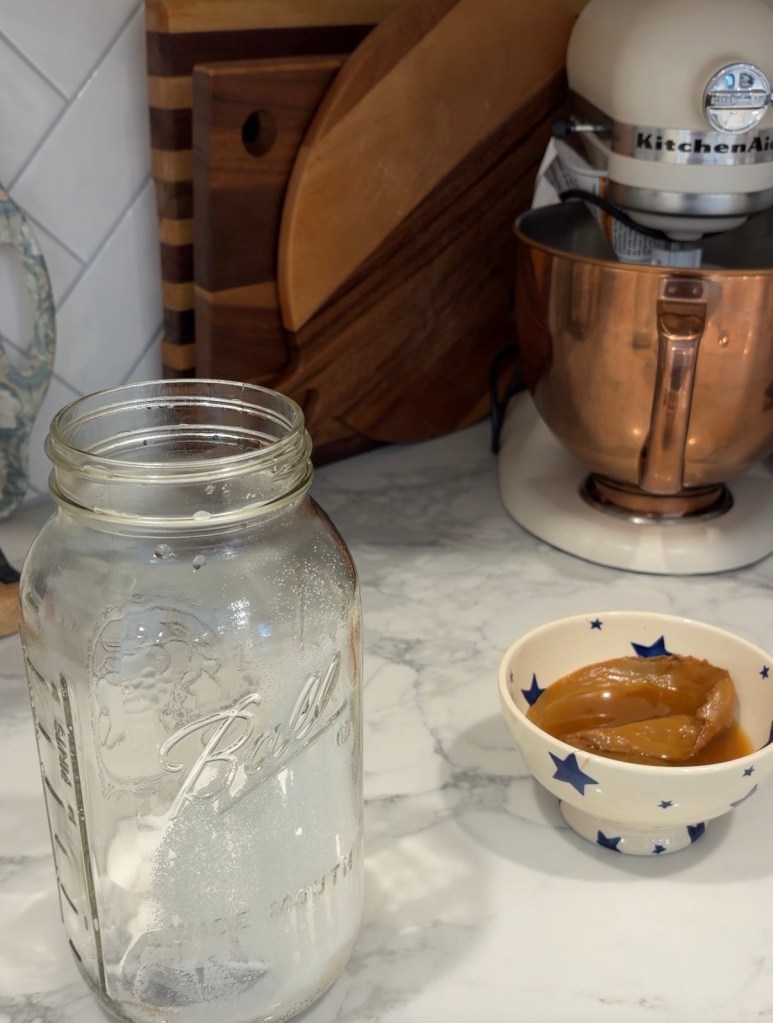
Once I’m happy with the flavor, I carefully remove my SCOBY.
I also reserve some of the finished, unflavored kombucha with it. This becomes my starter liquid for my next batch.
Nothing wasted—and now the process can continue again and again.
Step 5: Second Fermentation
This is where kombucha gets really fun.
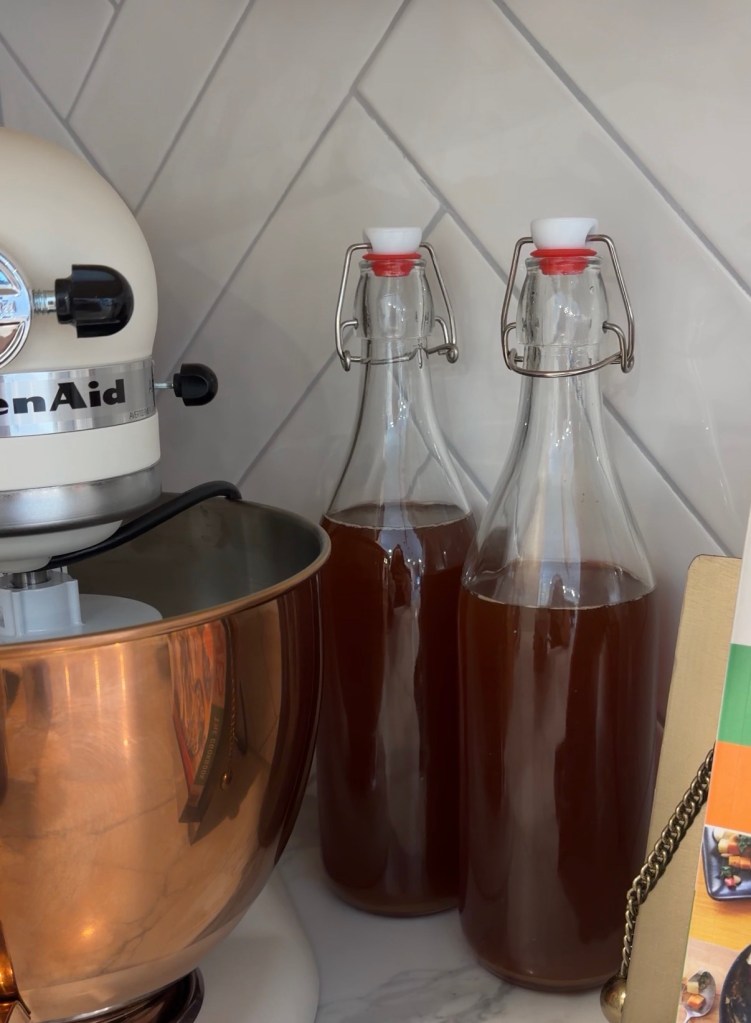
I transfer the finished kombucha into clean glass bottles (using a funnel while pouring the kombucha), and add whatever flavoring I’m using for that batch.
There are so many possibilities: berries, ginger, herbs, citrus, seasonal fruit and countless combinations.
For this batch, I’m keeping things beautifully simple with honey.
I add approximately 2 tablespoons of honey to each bottle, pour my kombucha over it and gently mix.
Then I close the bottles and allow them to go through a second fermentation for approximately 3–4 days.
This second fermentation develops the flavor and can also create carbonation.
Because pressure can build inside sealed bottles, I use bottles designed to withstand carbonation and keep an eye on them during this stage.
Step 6: Refrigerate & Enjoy
After the second fermentation, the kombucha goes straight into my refrigerator.
I like to let it become completely cold before drinking it.
And that’s it.
Tea, sugar, water, a living culture and time have been transformed into homemade kombucha.
Why I Love Making It Myself
For me, making kombucha isn’t only about the finished drink.
It’s another small way of becoming more connected to my kitchen and less dependent on constantly buying another packaged product.
I can reuse the same glass jars and bottles, maintain my SCOBY from batch to batch, experiment with ingredients I already have, and change the flavors with the seasons.
Summer might mean berries, peaches or garden herbs. Fall can bring apple, pear and warming spices. Winter might inspire citrus, ginger or cranberry.
And every batch becomes slightly different.
That’s part of what I love about fermentation—it reminds me that food doesn’t always have to come from a package or be exactly identical every single time.
Sometimes all we need are a few simple ingredients, a little knowledge and enough patience to let nature do its work.
That’s my kind of kitchen.
Food-safety note: Home fermentation requires clean equipment and proper fermentation practices. Discard a batch if you see fuzzy mold or other clear signs of contamination. When bottle-conditioning kombucha, use pressure-safe bottles because carbonation can create significant pressure.
Now enjoy 🥂


Leave a comment